

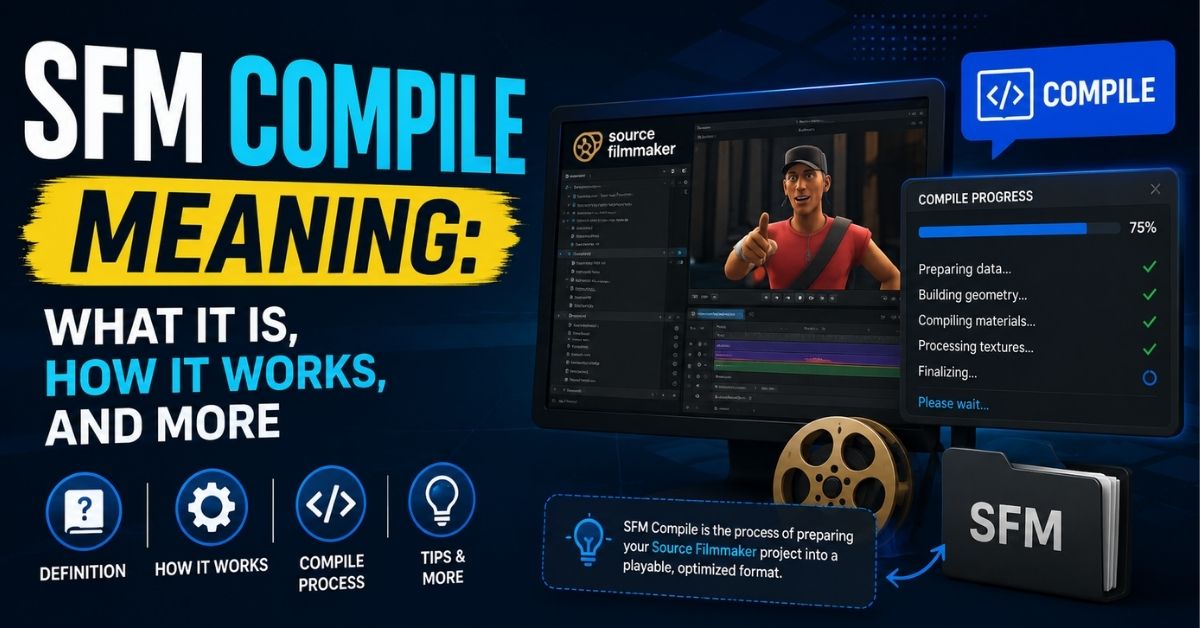
If you’ve spent any time in the Source Filmmaker community, you’ve probably run into the term SFM Compile and wondered what it actually means. Maybe you downloaded a model, dropped it into your project folder, and SFM just… didn’t load it. Or maybe you tried to build your own custom character and hit a wall of red error text you didn’t understand.
You’re not alone. The compile process trips up almost everyone the first time. It’s not because it’s impossibly hard — it’s because nobody explains it in plain language. Most guides jump straight into command syntax without ever answering the basic question: what is a compile, and why do you need one in the first place?
This guide fixes that. We’ll walk through the meaning of SFM compile, the tools you need, the exact steps involved, the errors you’ll probably hit, and how to actually get good at it. By the end, you’ll understand not just how to compile a model, but why each step matters.
What Does “SFM Compile” Actually Mean?
Let’s start with the basics. SFM compile refers to the process of converting a raw 3D model — built in software like Blender, Maya, or 3ds Max — into a format that Source Filmmaker (and the Source engine more broadly) can actually read and use.
Here’s the thing most tutorials skip: SFM doesn’t work with the files your 3D software exports by default. A .blend file or an .fbx file means nothing to the Source engine. Instead, Source needs a special binary format called MDL, short for “model.” That’s the file extension SFM, Half-Life 2, Garry’s Mod, and every other Source-based game actually loads.
So when someone says “SFM compile,” they mean the process of turning your raw mesh, skeleton, and textures into a working .mdl file. Without this step, your model simply doesn’t exist as far as SFM is concerned — no matter how good it looks in your modeling software.
You might also see the term written slightly differently across forums and Discord servers. People type sfm compli, sfm comiple, or even sfm clmpile when they’re typing fast or on mobile — all of these refer to the exact same thing. If you searched using one of those typos, you’re in the right place.
Here’s a quick breakdown of the core pieces involved:
| Term | What It Means |
|---|---|
| SMD/DMX | The raw model and animation data exported from your 3D software |
| QC file | A plain-text instruction file that tells the compiler how to build the model |
| Compiler (StudioMDL) | The program that reads the QC file and produces the final model |
| MDL | The finished, compiled file that SFM can actually load |
Think of it like baking bread. Your raw mesh and textures are the flour, water, and yeast. The QC file is the recipe. StudioMDL is the oven. And the MDL file is the loaf you actually get to eat. Skip the oven, and you’re just left with a bowl of ingredients that look nothing like bread.
How Model Compiling Fits Into the SFM Pipeline
Compiling doesn’t happen in isolation — it’s one link in a longer chain. Understanding where it sits helps you figure out where things go wrong when they do.
Here’s the general pipeline for getting a custom model into SFM:
- Modeling — You build the mesh in Blender, Maya, or similar software.
- UV mapping and texturing — You wrap 2D textures around your 3D mesh.
- Rigging — You add a skeleton (bones) so the model can be posed and animated.
- Exporting — You export the model as SMD or DMX files using a plugin like Blender Source Tools.
- Writing the QC file — You create the instructions the compiler will follow.
- Compiling — You run StudioMDL (directly or through a tool like Crowbar), which is where the actual SFM compile happens.
- Importing into SFM — You drop the finished MDL into your project and load it.
Notice that compiling sits near the very end of the pipeline. That matters because compile errors are often just symptoms of problems from earlier steps — a badly named bone during rigging, or a texture saved in the wrong format during export. If your compile keeps failing, the actual bug might live several steps back.
A useful way to think about it: compiling doesn’t create your model. It packages everything you already built into a format Source can understand. If the ingredients are wrong, the package will be wrong too.
The Software You Actually Need
You don’t need a mountain of expensive tools to get started. Here’s what actually matters, and what each piece does.
Source Filmmaker (Free)
This is the actual animation and rendering tool. It’s free through Steam and comes bundled with sample content so you can start posing and animating right away — no compiling required at first. You only need to compile something once you want to bring in a custom model that isn’t already part of SFM’s built-in library.
3D Modeling Software
You’ll need something to actually build your model in:
- Blender — free, open-source, and by far the most popular choice in the SFM community because of its excellent (and free) Source export plugin.
- Autodesk Maya — industry-standard, used heavily in professional studios, but comes with a hefty subscription cost.
- 3ds Max — another professional option, more common in game development pipelines than in the hobbyist SFM scene.
Compiling Tools
- StudioMDL — the actual compiler built into the Source SDK. This is the engine doing the real work behind every SFM compile.
- Crowbar — a free, community-built graphical interface that sits on top of StudioMDL. Instead of typing commands manually, you load your QC file, click compile, and Crowbar handles the rest. Almost everyone in the community uses this instead of raw command-line compiling.
- GUIStudioMDL — an older alternative to Crowbar, still used by some veterans but largely replaced by newer tools.
- Blender Source Tools — a free Blender add-on that lets you export your model directly as SMD or DMX files, ready for compiling.
Here’s a simple comparison table to keep these straight:
| Tool | Purpose | Cost |
|---|---|---|
| Source Filmmaker | Posing, animating, rendering | Free |
| Blender | Building and rigging models | Free |
| Blender Source Tools | Exporting models to SMD/DMX | Free |
| Crowbar | Running the compile process | Free |
| StudioMDL | The actual compiler engine | Free (part of Source SDK) |
The good news? Every single tool above costs nothing. You don’t need a paid license to start compiling models for SFM — you just need patience and a willingness to read error messages carefully.
Understanding the QC File
If there’s one file you need to understand deeply, it’s the QC file. This is the actual instruction manual for your SFM compile, and almost every compile error traces back to something written incorrectly here.
A QC file is just plain text — you can open and edit it in Notepad. It tells StudioMDL things like:
- Where to find your reference mesh
- What to name the final model
- Which animations (sequences) to include
- How the model should collide with the world
- Where the textures live
Key QC Commands Explained
Here are the commands you’ll run into constantly:
$modelname— sets the name and file path of your finished model.$body— points to the SMD file containing your actual mesh.$cdmaterials— tells the compiler which folder your textures live in.$sequence— defines an animation sequence and which SMD file it comes from.$collisionmodel— sets up the physics/collision shape, often a simplified version of your mesh.$surfaceprop— defines what material the model is made of (wood, metal, flesh, etc.), which affects sounds and physics.
A Simple Annotated Example
$modelname "myprops/wooden_crate.mdl"
$body mybody "wooden_crate_reference.smd"
$cdmaterials "models/myprops/"
$surfaceprop "wood"
$sequence idle "wooden_crate_reference.smd"
$collisionmodel "wooden_crate_physics.smd"
Reading this line by line: it names the finished model, points to the mesh file, tells the compiler where the textures sit, sets the surface as wood, defines a default idle animation, and links a collision mesh for physics.
That’s it. No advanced coding needed. Once you understand what each line does, the whole QC file stops looking like gibberish and starts looking like a checklist.
Step-by-Step: How to Compile a Model for SFM

Now let’s walk through the actual SFM compile process from start to finish.
1. Prepare your model and textures. Make sure your mesh is finished, your UV maps are clean, and your textures are saved in a format Source supports (typically VTF, converted from PNG or TGA). Double-check your file names — inconsistent naming is one of the most common causes of failed compiles.
2. Write or edit your QC file. Using the commands above, build a QC file that matches your folder structure exactly. Even a single mistyped folder name will break the compile.
3. Run the compiler. Open Crowbar, load your QC file, and hit compile. Behind the scenes, Crowbar is calling StudioMDL and feeding it your instructions.
4. Read the output log carefully. If the compile succeeds, you’ll see a confirmation message and a new .mdl file in your output folder. If it fails, Crowbar will show you an error log — don’t skip past this, since it almost always tells you exactly what went wrong.
5. Fix any errors and recompile. This is normal. Very few compiles succeed on the first try, especially for beginners. Fix one error, recompile, and repeat until it’s clean.
6. Test the model inside SFM. Load Source Filmmaker, import your new model, and check that it appears correctly, holds its textures, and poses the way you expect.
Here’s a short case study that illustrates how this usually goes in practice:
One modder on the Facepunch forums described spending four hours trying to compile a custom character, only to discover the entire problem was a single space in a folder name. Once they removed the space and matched the path exactly in the QC file, the compile succeeded in under a minute. It’s a good reminder that compiling problems are almost always small and specific, not mysterious or complicated.
Common Compile Errors and How to Fix Them
Every SFM creator runs into these sooner or later. Here are the ones you’ll see most often.
- Missing or mismatched texture paths — the compiler can’t find your textures because the
$cdmaterialspath doesn’t match your actual folder structure. Fix: double-check every folder name for exact spelling and capitalization. - Bad bone hierarchy — often shows up as
ERROR: unknown bonewhen a bone referenced in an animation doesn’t exist in your reference skeleton. Fix: make sure your rig is finalized before exporting animations. - Incorrect file paths in the QC — a classic typo issue. Fix: open the QC in a text editor and compare every path against your actual folder layout.
- “ERROR: could not find” messages — this generic error almost always means a referenced file (SMD, VTF, or VMT) doesn’t exist where the QC says it should. Fix: verify the file actually exists at that exact location.
- Purple-and-black checkerboard textures — this isn’t a compile failure exactly; it means the model compiled fine, but the texture files (VMT/VTF) weren’t generated or placed correctly.
A lot of new users type slightly different search terms when hunting for fixes to these issues — you’ll see people search “sfm comiple error” or “why does my sfm clmpile fail” when really they’re asking about the exact same compiling problems listed above.
Best Practices for Clean, Reliable Compiles
A little bit of organization up front saves you hours of frustration later. Here’s what experienced SFM creators recommend:
- Organize your working folder before you even start. Keep separate subfolders for models, materials, and QC files, mirroring how Source expects things to be structured.
- Use consistent naming conventions. Avoid spaces and special characters in file and folder names — stick to lowercase letters, numbers, and underscores.
- Match your compiler version to your SFM install. An outdated Crowbar or StudioMDL version can behave unpredictably with newer Source content.
- Keep backups of your raw SMD and DMX files. If a compile goes badly wrong, you don’t want to redo your rigging from scratch.
- Compile early and often. Don’t wait until your model is “finished” to test your first compile. Compile a rough version early so you catch structural problems before you’ve invested hours in fine detail.
Where to Get Models, Assets, and Ports
Not everyone wants to build a model from scratch, and that’s completely fine. There are a few common paths:
- Steam Workshop content — thousands of pre-made, already-compiled models are available for free and load directly into SFM without any compiling on your end.
- Custom-compiled models — models you or someone else builds and compiles from scratch, giving you full creative control.
- Ported models — models extracted from other games and adapted to work in Source. This is common in the community, but it sits in a legal gray area. Porting content from a commercial game without permission can violate that game’s terms of service and copyright, even if the practice is widespread. If you’re serious about publishing your work, it’s worth sticking to original models or properly licensed assets.
For beginners, workshop content is the easiest way to start posing and animating in SFM without touching the compile process at all. Save your first custom compiles for once you’re comfortable with the basics.
Read Also: Application Mobile DualMedia: What Is It and How Does It Work?
Rigging and Animation Basics Once Your Model Is Compiled
Once your SFM compile succeeds, the real fun starts: posing and animating. A couple of things matter here that connect directly back to how you compiled things.
- Bones are the skeleton structure that lets you pose your model. If your rig was compiled with a clean, logical bone hierarchy, posing will feel intuitive. A messy rig makes for frustrating animation work.
- Flexes control facial expressions and subtle deformations. These need to be properly set up in your QC file’s
$flexcontrollerand related commands before compiling, or your character won’t have facial animation options in SFM at all.
If you notice a model poses stiffly or bones move in strange, disconnected ways, that’s usually a sign of a rigging issue from before the compile — not something you can easily fix inside SFM itself.
Troubleshooting: When SFM Won’t Load Your Compiled Model
Sometimes the compile finishes without errors, but SFM still gives you trouble. Here’s how to diagnose the most common issues:
| Symptom | Likely Cause | Fix |
|---|---|---|
| Model shows as an error cube | MDL file path doesn’t match what SFM expects | Verify the model is placed in the correct models folder |
| Missing textures in-viewport | VMT/VTF files weren’t generated or placed correctly | Re-check $cdmaterials path and material folder |
| Model imports but won’t animate | Bone or flex setup issue during rigging | Revisit your rig before recompiling |
| Model appears distorted | Incorrect scale during export | Match your export scale settings to Source’s expected units |
Most of these issues trace back to path mismatches. If you keep a consistent, tidy folder structure from the start, you’ll avoid the majority of these headaches entirely.
SFM Compile Workflow for Beginners: Where to Start
If all of this feels like a lot, here’s the realistic starting point most experienced creators recommend.
Don’t start with a fully rigged character. Start small:
- Compile a simple static prop first — something with no animation and no complex rig, like a crate or a rock. This teaches you the QC file basics without the added complexity of bones and sequences.
- Move to a basic rigged object — something with just one or two moving parts, like a door or a simple mechanical object.
- Try a simple character rig — once you’re comfortable with bones, attempt a basic humanoid or creature model.
- Add facial flexes and full animation support — this is the most advanced stage, and it’s fine to take your time getting here.
This step-by-step approach means you learn the compile process in manageable pieces instead of getting overwhelmed trying to compile a full animated character on your very first attempt.
Conclusion
SFM compile isn’t some mysterious, unreachable skill — it’s a specific, learnable process with a clear structure: build your model, export it, write a QC file, run it through the compiler, and troubleshoot what comes back. Every experienced SFM creator went through the exact same frustrating first compiles, the same typo-based errors, and the same purple-and-black checkerboard textures you might be dealing with right now.
The key is patience and organization. Keep your folders clean, read your QC files line by line, and don’t be afraid to compile early and often rather than waiting until everything feels “perfect.” Whether you’re searching for help under the term SFM compile, or you typo’d it as sfm compli or sfm comiple, the fundamentals stay exactly the same — and now you’ve got a clear roadmap for tackling them.
Frequently Asked Questions
What is a QC file used for in SFM compiling?
A QC file is a plain-text instruction file that tells the StudioMDL compiler how to build your model. It defines file paths, animations, collision models, and material locations — essentially acting as the recipe the compiler follows to produce a working MDL file.
Why does my compiled model show up as a purple-and-black checkerboard?
This happens when your model compiles successfully, but its texture files (VMT and VTF) either weren’t generated correctly or aren’t located where the model expects them. Double-check your $cdmaterials path and confirm your material files actually exist in that folder.
Can I compile models without Crowbar?
Yes. Crowbar is just a graphical front-end for StudioMDL, which is the actual compiler. You can run StudioMDL directly from the command line if you’re comfortable typing out the compile commands manually, though most people find Crowbar faster and easier for everyday use.
Is Source Filmmaker still supported by Valve?
Source Filmmaker is still available for free through Steam and remains functional, though Valve has shifted most of its active development attention to other projects in recent years. The community continues to actively support it with tools, tutorials, and new content.
What’s the difference between compiling for SFM and compiling for Garry’s Mod?
The core compile process is nearly identical since both run on the Source engine and use the same StudioMDL compiler and QC file structure. The main differences show up in folder conventions and how each program expects assets to be organized, rather than in the fundamental compiling steps themselves.
Do I need to know coding to write a QC file?
No. A QC file uses simple, readable commands rather than actual programming syntax. If you can follow a basic checklist and pay close attention to file paths and spelling, you can learn to write and edit QC files without any coding background.
